Plan Ahead for Your Vegetable Garden: 5 Tips
Get organized ahead of spring!
I’ve learned that the best way to optimize my growing space and maximize production is to have a planting plan. This is best made before spring arrives! It doesn’t have to be complicated, but laying some groundwork early helps keep the garden on track all season long. Below are five strategies I use to get off to a strong spring start:
1. Make a Plan
With 30 raised vegetable beds, I need to stay organized to ensure I’m getting the most out of my garden. There are several ways to keep track of planting, but I like to sketch out a map of my garden beds, labeling each with the crops I wish to grow in it.
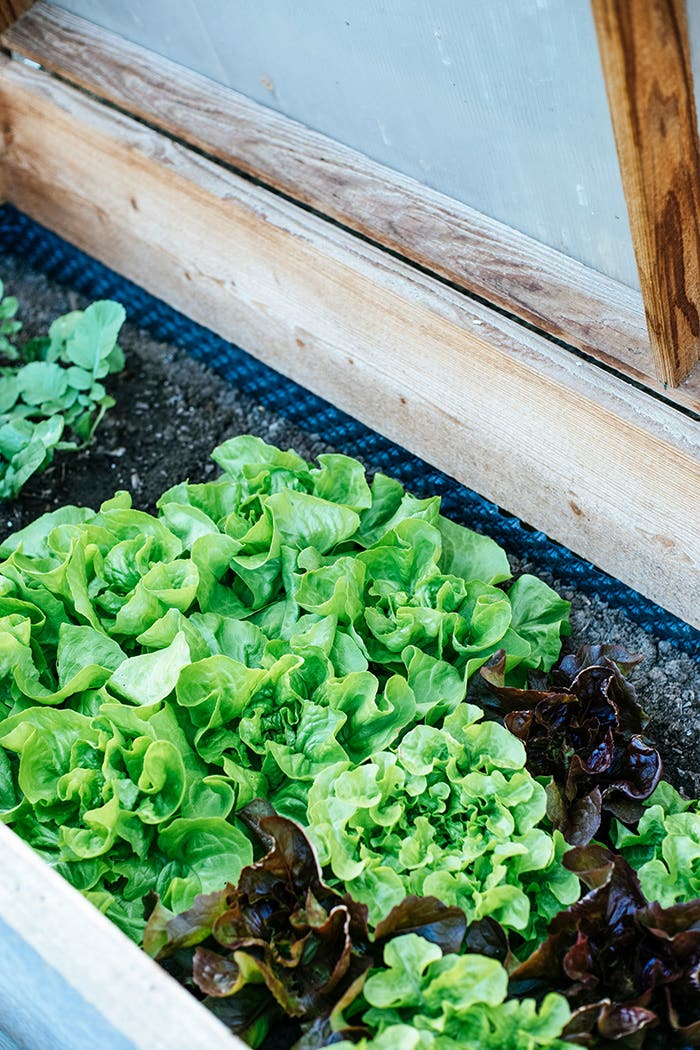
For example, one bed may start with a crop of spring lettuces, followed by an early-summer seeding of bush beans, followed by a midsummer planting of cabbage seedlings for a fall harvest.
I’ve found that having this visual map of my planting plan works best for me. Other gardeners use spreadsheets or a garden journal to stay organized.
2. Remember to Rotate Crops
When I’m creating my planting plan, I keep crop rotation in mind. Practicing a three- or four-year crop rotation helps to reduce pest and disease pressure and to minimize the depletion of soil nutrients.
To make crop rotation easy, I organize it according to vegetable family. Why? Crops in the same family typically are targeted by the same pests and diseases and often have similar nutrient needs. Planting vegetables families in a different location each year improves plant and soil health.
If you have three or more raised beds, rotate crop families from bed to bed. If you grow vegetables in rows, shift each family down a row the next time you plant. It’s best if three or four years pass before crops from one family return to the same spot.
Even a small garden can benefit from crop rotation. For instance, a single four-by-eight-foot raised bed can be divided in two sections, with nearby containers providing growing room for additional vegetables. Families can rotate through these spaces just as they would in a larger garden.
Here are some common vegetables and the families to which they belong:
Solanaceae: tomatoes, peppers, potatoes, eggplants
Amaryllidaceae: onions, leeks, garlic
Brassicaceae: cabbage, broccoli, cauliflower, kale
Cucurbitaceae: cucumbers, melons, gourds, squash, pumpkins
Fabaceae: peas, beans
Chenopodiaceae: spinach, beets, chard
Asteraceae: lettuce, endive, artichoke
3. Choose How You'll Start Vegetables
There are two ways to plant vegetables into the garden: from seeds or from transplants. Transplants may be seedlings you started yourself indoors or purchased from a garden center. I plant both seeds and seedlings in my garden, basing my choice on the type of vegetable.
Certain crops, like root vegetables as well as cucumber family members, don’t transplant well. They’re best direct seeded. I also direct sow fast-growing salad greens like leaf lettuce, arugula and spinach, because they’re so quick to go from seed to harvest.
Vegetables that need a long growing season, such as tomatoes, onions and peppers, are transplanted as seedlings. This gives them a head start, which is particularly important in short-season climates.
Related: Seeds to Sow in the Garden in Spring
4. Space Plants Right, and Mind Their Depth
Now that we know a bit more about planting crops, let’s talk about how far apart to space them. Each vegetable and variety has an ideal spacing. The goal is to maximize your growing space without overcrowding the crops. Overcrowding leads to poor airflow, which can prompt diseases. On the other hand, you also don’t want to plant too far apart, because you’ll end up with wasted space where weeds will grow.
Most plant tags, seed packets and seed catalogs list the specific spacing recommendations for the vegetables at hand. Be sure to follow this advice.
Spacing also depends on whether you’re sowing seeds or transplanting seedlings. Seeds are spaced closer than seedlings, because they should be thinned later on, once the young plants are growing well. Seedlings, on the other hand, should be transplanted at the recommended spacing.
For example, I sow lettuce seeds two inches apart. Later, I’ll pull certain seedlings so that those that remain sit ten inches apart, space enough for mature heads. But if I’m transplanting lettuce seedlings into the garden, I set them ten inches apart.
Plant spacing is important, but so is planting depth. If you plant seeds too deep, they may never sprout. Plant too shallow, and they may dry up as they germinate.
The general rule is to plant seeds at a depth that is twice their diameter. So a half-inch-wide bean seed is planted one inch deep.
When we’re transplanting seedlings, most should be planted at the same depth they’re growing in their pots or cell packs. The exception to this rule is tomatoes, which can form roots all along their stems. I plant tomato seedlings deeply, burying the bottom two-thirds of the stem under the soil.
Always water the garden bed well after seeding or transplanting.
5. Plan for Weather Worries
If there’s one thing you can count on in the spring garden, it’s unpredictable weather. Temperature swings, frost, heavy downpours and even snow can make it difficult to get seeds and seedlings planted. I make sure I have protective covers ready to shelter crops from weather (as well as pests).
Cool-season vegetables like lettuce, cabbage, spinach, beets, carrots, peas and onions can be planted in early spring once the soil has thawed. To help these crops settle in, I use tools like row covers, mini hoop tunnels and cloches. These also come in handy for protecting heat-loving vegetables like tomatoes, melons and cucumbers if the temperature drops after planting. Remove covers once spring temps have settled and the risk of frost has passed.