5 Techniques for Growing a Vegetable Garden
Explore options like fabric pots and more
Whether you’ll be breaking ground on your first vegetable garden come spring or you’re thinking of expanding an existing plot, you have choices to make. The first decision concerns just how you'll set up your garden or garden expansion. There are many productive ways to grow food.
My own first garden was a small in-ground space that, while weedy, showed me just how delicious homegrown tomatoes, beans and cucumbers tasted. Since then, I’ve grown vegetables in straw bales, hugelkultur beds, containers and raised beds with great results.
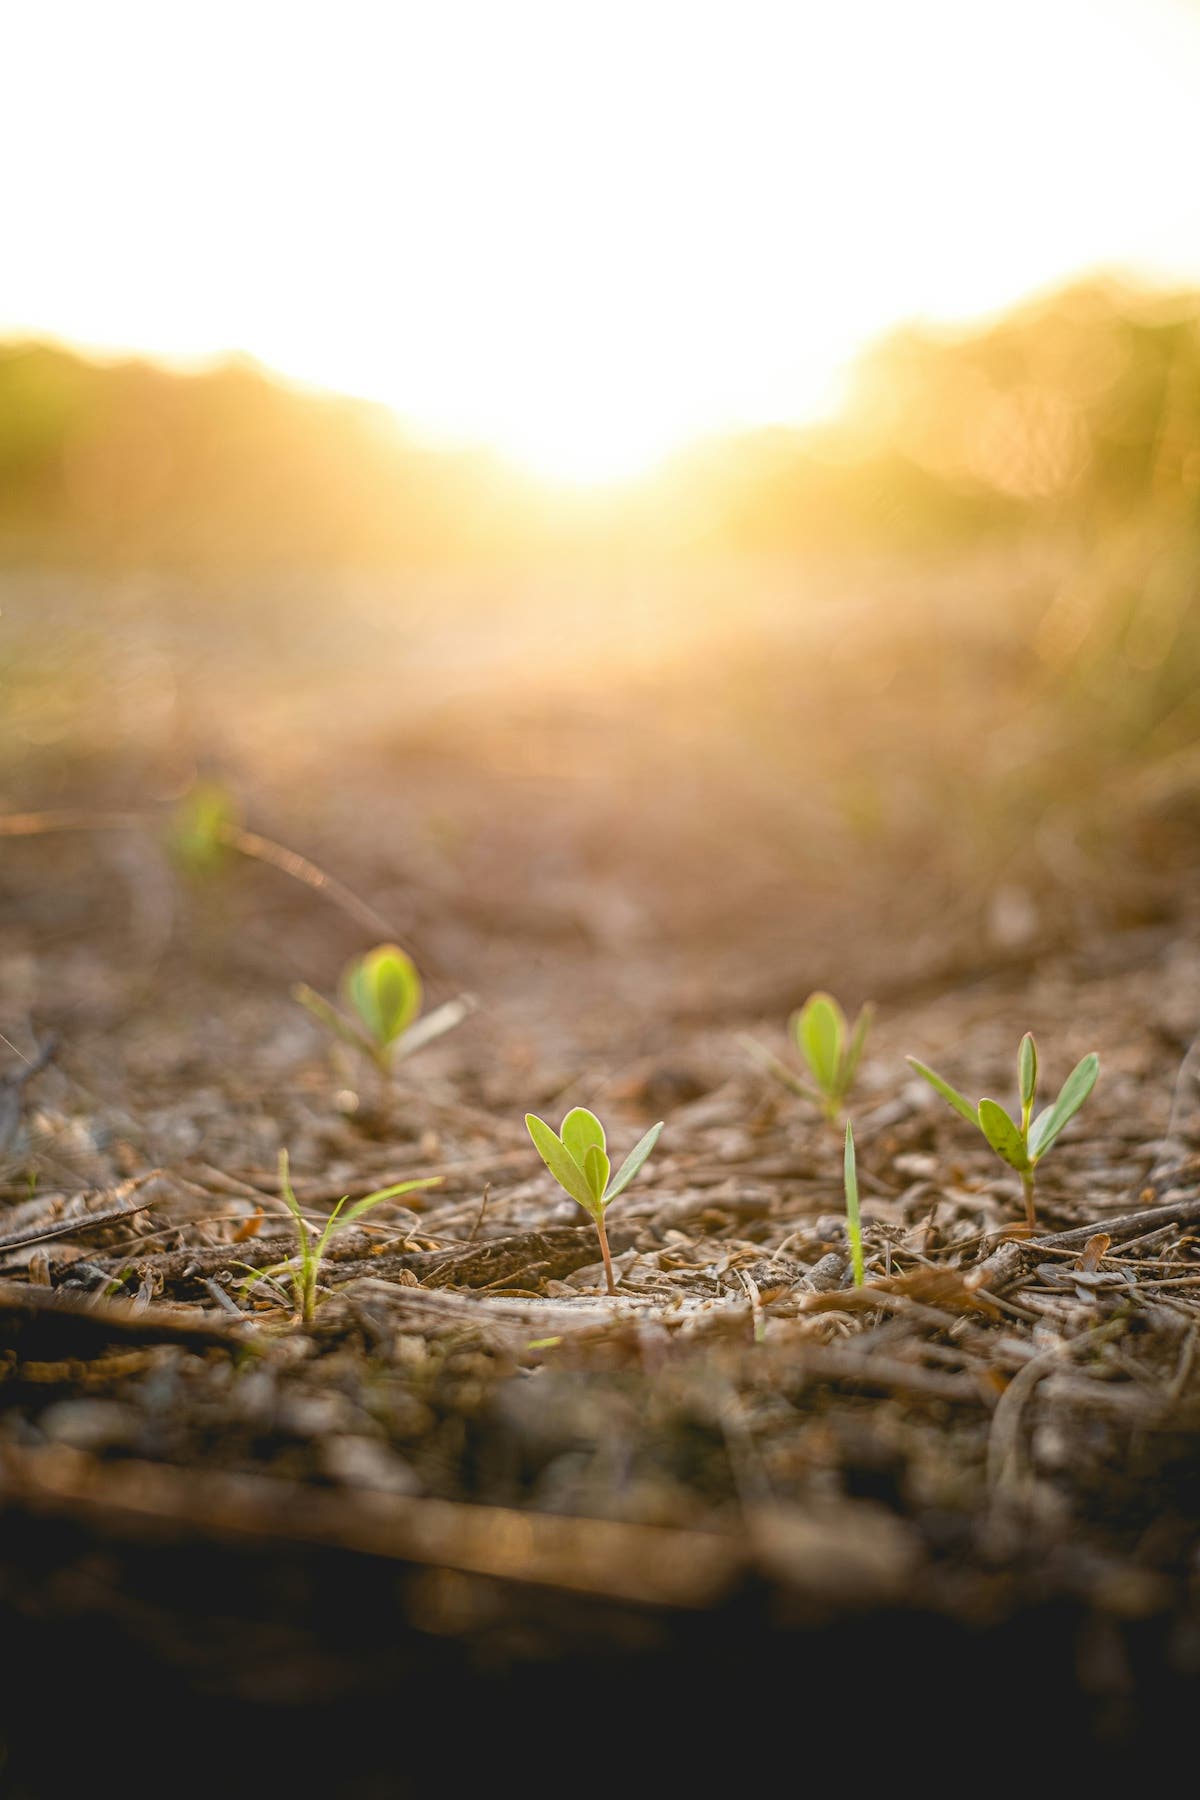
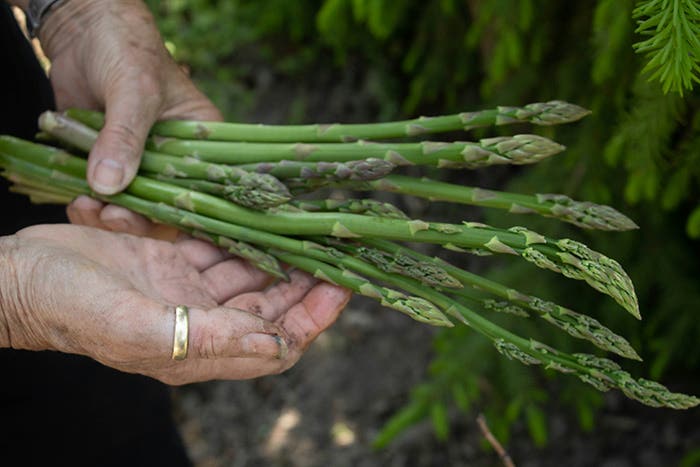
No matter what method you use for growing vegetables, do it on a site that offers at least eight hours of direct sun each day. If you’re new to food gardening, start small. Spend a season or two flexing your green thumb and building your skills before you jump into a large plot.
To help you start planning your garden, let’s look at five techniques for growing food in any size space.
The in-ground vegetable garden
Planting vegetables in an in-ground garden, often called a row garden, is a traditional way to grow food. Grass and weeds are removed from the site and the soil is amended with compost or aged manure prior to boost its fertility.
The biggest benefit of this technique is that there is little to no upfront cost. Plus, an in-ground garden typically needs to be watered less frequently than raised beds.
However, this type of plot is generally more work to maintain. That’s because plants growing at ground level stand more accessible to insect pests as well as larger animals like deer and rabbits. Compared to other growing methods, the row-garden soil is slower to warm up in spring and more prone to late frosts, meaning the season isn’t quite as long. And weeds can be more of a problem.
An in-ground garden can be arranged into long rows or divided into beds. Whichever design you choose, I recommend making pathways wide enough for wheelbarrow access and mulching those paths with straw to keep them free of mud and weeds.
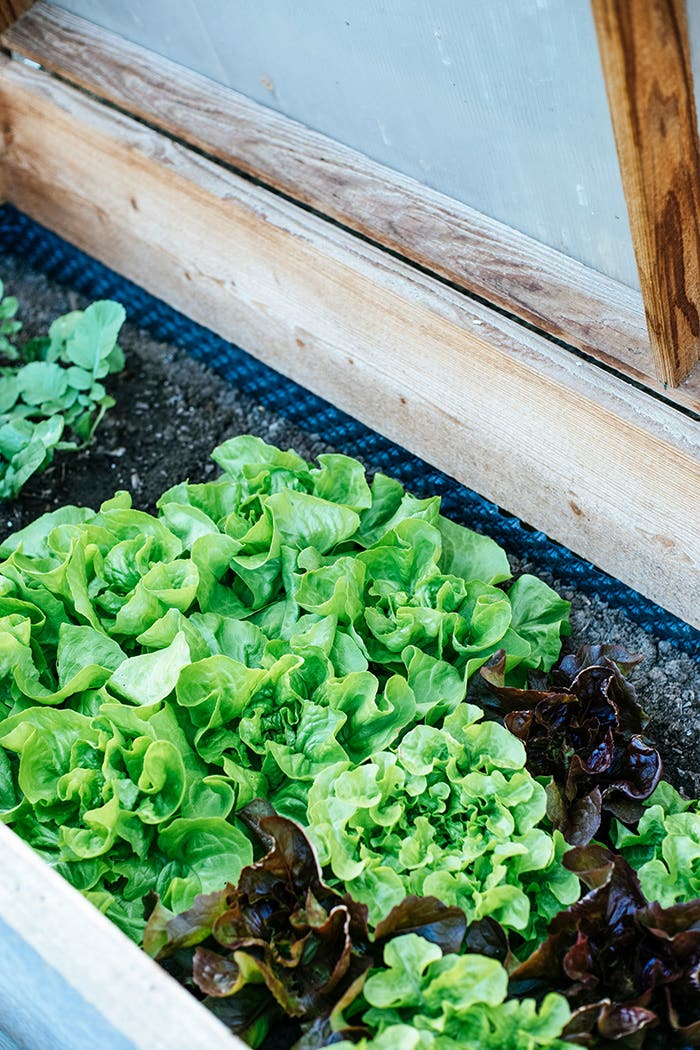
Raised beds for vegetables
I became a raised bed gardener about 20 years ago, when I moved to my current home. I started with four large free-formed beds. I eventually redesigned and expanded the space to hold 20 wood-edge raised beds, a mix of 4-by-8-foot and 4-by-10-foot boxes, each 16 inches tall.
I’ve found raised beds to be far less work than my previous in-ground gardens. There are fewer weeds and the beds warm up early in spring, allowing for extra-early planting. Because I don’t walk on the soil, it’s never compacted. Plus, raised beds allow me to plant intensively and maximize my square footage.
That said, there was the initial investment of materials and time needed to build and fill the beds. To build my beds, I used locally sourced untreated hemlock. You can also edge beds with logs, stones or pavers, or mound the soil to create free-formed beds. In recent years galvanized raised beds have become popular, with kits widely available from garden-supply stores.
Strawbale gardening
Thanks to its quick setup, productivity and convenience, strawbale gardening—in which plants are grown directly in bales of straw—has become a popular way to grow food. Ideal for hosting vegetables, herbs and annual flowers, bales can be set up on a lawn, driveway, patio or other sunny spot.
The first step to successful strawbale gardening is to buy the bales. Be sure you’re getting straw, not hay. Straw is made up of the stems and stalks of grains and cereal crops, while hay contains seed heads and often weed seeds, too. I also ask if the bales are spray-free, because I don’t wish to bring residual herbicides into my garden.
To fit as many as possible into the site, I place the bales on their sides, so that a long, narrow edge faces up. Once positioned, they need to be conditioned for planting. This process takes about 14 days. It kick starts the straw’s decomposition process and creates a fertile pocket for planting crops.
Begin by spreading one cup of a high-in-nitrogen fertilizer, like blood meal, evenly over the top of the bale. Then water deeply to saturate the bale. The next day water the bale again. On the third day, add another cup of fertilizer and water it in. On day four, water the bale. Repeat this pattern for a week. The second week, repeat the pattern again, but use just a half a cup of fertilizer each time.
Once they’re conditioned, I tuck tomato, pepper, cucumber, pumpkin and zucchini seedlings into the tops of the bales. Pay attention to moisture, deeply watering the bales when needed. At the end of the growing season, I pile up the half-rotted bales to compost into a rich soil amendment.
Hugelkultur
Hugelkultur gardening is a traditional technique that embraces no-dig and permaculture methods. This is a great way to grow vegetables as well as fruits like strawberries and blueberries.
The bed itself is a mound of organic materials like logs, branches and leaves, which is covered with soil or compost and planted. It takes years for the bed to break down, and as it does it creates a nutrient-rich environment for plants. It also holds water very well and requires little to no irrigation once established.
Before building a hugelkultur garden you’ll need to gather your materials and clear the area of weeds and stones. A common dimension is four by eight feet, but you can create the bed to match the size of the site. Once finished it should stand three to four feet tall.
Start with a pile of the largest materials, like logs and branches, spreading them over the space. Top this layer with smaller materials like twigs, leaves and wood chips. Then it’s time for compost, rotted manure or soil. Seedlings and plants are then tucked into the bed and mulched with straw or shredded leaves.
You will need to water during the first year, but once the bed begins to break down the organic materials inside act as a sponge, absorbing water. This eliminates the need to irrigate, except in a prolonged drought.
Container gardening
Perhaps the easiest way to get started in food gardening is to use pots, planters, window boxes and other types of containers. You can even upcycle items like buckets (just be sure to add drainage holes to the bottoms, so excess irrigation and rainwater can escape).
I’m a big fan of fabric pots. I use them on my sunny back deck as well as in my greenhouse to grow crops like tomatoes, peppers and melons. They provide excellent drainage and they also air prune the roots, which encourages a robust root system. They do need to be watered more often than plastic pots, however.
The advantage of container gardening is that it turns any sunny space into a place to grow food. On the downside, there is an initial cost of containers (depending on the types of pots you choose) and potting mix. Plus pots dry out quicker than garden beds in the hot summer sun. You’ll need to pay very close attention to watering. It’s also important to fertilize potted vegetables regularly to ensure a steady supply of nutrients.
When you’re ready to plant, fill the containers with a blend of potting mix and compost (I use two parts potting mix to one part compost) and sow seeds or transplant seedlings. Be sure to match the mature size of the plant to the pot. For example, opt for bush-type tomatoes like ‘Celebrity’ or ‘Tasmanian Chocolate’, which stay compact.
For a non-stop harvest, pot up new containers of fast-growing vegetables like bush beans and salad crops every couple of weeks.