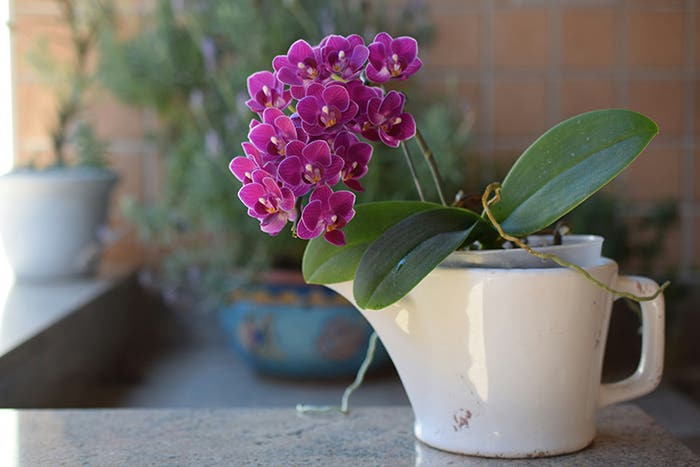
Tropical orchids can be an irresistible purchase during the winter months, given their bright and long-lasting blooms. But whether your orchid was an impulse buy or a surprise gift, it can leave you wondering when and how to repot this plant that grows differently than the typical houseplant.
When to Repot an Orchid
When you acquire a new orchid, wait for it to finish blooming and then repot it in fresh potting medium, removing the sphagnum moss that usually accompanies gift orchids but can promote root rot.
Thereafter, repot the orchid any time that you notice the potting mix has broken down. It starts out chunky, with visible bits of bark, and it will decompose over time into a compacted mass that limits air reaching the roots—time to replace the mix!
Roots extending up out of the pot and into the air are also a sign that it’s time to repot.
How to Repot an Orchid
Choose a bagged potting mix labeled for use with orchids. It will contain large pieces of bark that allow the drainage and air pockets that orchid roots require.
You can repot into the same pot if your orchid is not sending roots out over its top. If it is, choose an orchid pot an inch or two larger. (Orchid pots are tall and slender, again to support the type of root growth and rapid drainage.)
Remove the orchid from its pot and soak the rootball to loosen the roots and any old potting mix. Once it is good and soft, gently remove the old mix trapped between roots and trim away any black or mushy roots. Healthy roots are firm and greenish white.
Proceed to pot the orchid with fresh orchid mix such as you would any plant, gently pressing the mix down and around the roots.
Avoid adding sphagnum moss or other topdressings to the surface of the potting mix. These only trap moisture and block air flow, making prime conditions for rot.
Water thoroughly, but allow the mix to dry before watering again. Then continue on with routine orchid care.
Image credit: Barry Dale Gilfry, CC BY-SA 2.0 via Flickr.com