Do This Simple Test of Your Soil to Find Its Type
Test your soil type by performing a jar test—a simple, easy and inexpensive way to discover what type of soil is in your garden. Here is how you do it:…
Test your soil type by performing a jar test—a simple, easy and inexpensive way to discover what type of soil is in your garden.
Here is how you do it:
• You will need a clean, clear jar with a tight lid—an old pint or quart mason jar, jam jar, etc.
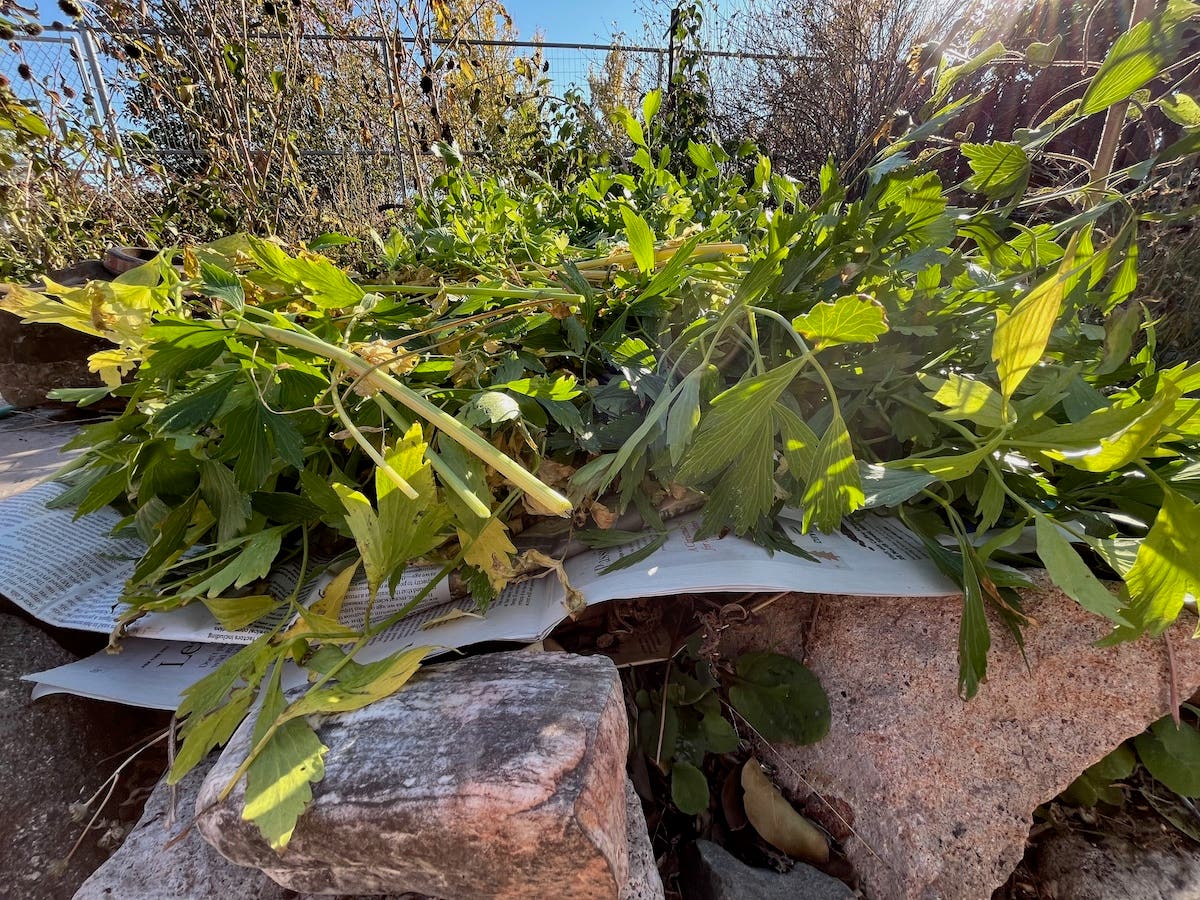
• There are a few different approaches you can take with adding the sample soil and water. One is to fill the jar 2/3 full of water and filling the remainder of the jar with the soil sample—making sure to leave about an inch free at the top. Another method is to measure the soil first—roughly one cup—and place in the jar. Add water to fill the jar to cover the soil or until there is only 1 inch at the top remaining in the jar. The sample of soil should be a good representation of the desired area. You can either test your garden’s soil as a whole or gather samples from different areas, using separate jars for each. Make sure to sift the soil to rid it of any clumps and debris before putting it in the jar. Some suggest adding a tablespoon of powdered dish detergent to act as a surfactant, to keep the soil from clumping together during the test.
• Once you have added the desired amount of water and soil, tighten the lid and shake the jar vigorously for 2 to 3 minutes, or until all particles are in suspension.
• There are different approaches you can take after you are done shaking the mixture. One is to let the jar sit for a day or two and then measure the layers, or another is to measure each layer as they form individually. To perform the latter method, let the jar sit for a minute after shaking. After the minute is up, mark the jar where the layer has formed at the bottom – this is the sand layer, comprised mostly of sand and large particles. Set the jar aside for an additional hour or two and mark the top of the second layer – this is the silt layer. Again set aside the jar but this time, for 24 hours. After the allotted time is up, mark the top of the final layer—this is the clay layer. Note: make sure not to shake or mix the soil that has already settled when marking each layer. If you choose to go with the first suggestion, measuring them all at once after a day or two, you can differentiate between the three layers by color and consistency. The bottom layer will be the sand layer and will visibly contain heavier particles and sand. The mid layer, the silt, is the darkest layer; and the final top layer, the clay, is the lightest layer. Mark accordingly.
Once you have marked the three layers it is time to do some math to discover the percentage of each relative to the total amount of sample soil used in the jar. Once you have the percent of clay, sand and silt, you can discover which type of soil you have in your garden—whether it is sandy, clay or loamy. For a general idea of soil type: sandy soils are roughly 65 to 100% sand, with the remaining percentage being a mixture of the silt and clay layers; loamy soils are typically composed of 25 to 50% sand, 30 to 50% silt and 10 to 30% clay; and clay soils are usually made up of 0 to 45% sand, 0 to 45% silt and 50 to 100% clay.
Image: public domain
--------------------------
Peruse through insightful articles with step-by-step instructions for various soil-treatment projects in the Horticulture Smart Gardening Techniques: Soil.
Download the Smart Gardening Series: Weather and Science to learn just how weather and science affect your garden.
Don’t be afraid to dig around in the dirt with a pair of “Digger” Gloves by Womanswork.
Create and maintain the perfect, thriving garden of your dreams by trying out these various garden projects in the Horticulture Smart Gardening Techniques: Garden Projects.
Read Decoding Gardening Advice and discover the science behind more than 100 universal gardening “dos and don’ts”.