Starting Perennial Seeds That Need Cold
Cold stratification explained!
Many perennials that are native to temperate regions of the world have seeds that require a moist, cold period before they sprout. You can grow these seeds by sowing them in pots and setting the pots outdoors in late fall or winter. Known as "stratification," this treatment replicates the natural conditioning the seeds would undergo in their native habitat, breaking down the internal mechanisms that inhibit their ability to germinate. The seeds will germinate when temperatures rise in the spring.
This rather low-tech method, which is also called moist-chilling, works well for bleeding heart (Dicentra), columbine (Aquilegia), globeflower (Trollius), masterwort (Astrantia), monkshood (Aconitum), penstemon, garden phlox and turtlehead (Chelone). It's also very useful for starting the seeds of many fall-ripening trees and shrubs, such as barberries, dogwoods, lilacs, species roses and viburnums.
1. Sow the seed
You can use four-inch plastic pots or flats for this project. Use a coarse potting mix that will allow good drainage and air circulation to the roots. (To make an all-purpose potting mix more coarse, mix in some builder's sand.) Moisten the mix and fill your containers, tamping down so that the top of the mix is about a half-inch below the pot rim. Sow the seeds about a half-inch apart and cover them with a thin layer of mix. Top the pots with a thin layer of very fine gravel or coarse sand to secure the seeds in place.
Label each container with permanent marker and water the pots well.
2. Place the pots in a cold place
For the winter chilling period, choose a location out of direct sun, such as an unheated porch or shed, or an uncovered cold frame on the north side of the house. A place where temperatures remain between 35 and 45 degrees (F) is ideal. (If you live in a warm-winter climate, or you can't find a suitable location in your cold-winter climate, you can provide a period of moist-chilling by placing the pots in the refrigerator for about six weeks.) If you opt for a cold frame, line it with a layer of moist sand so you can bury the base of the pots to help keep them upright. Cover the pots with wire screen to keep out rodents and birds.
3. Wait for germination
Check your pots frequently and water if the top of the soil mix feels dry. As spring approaches, you should begin to see signs of growth. Different species will germinate at different rates. Some may appear in very early spring, others in late spring, while a few kinds may take up to a year or more.
As the seedlings sprout, move the pots to a nursery area or an unheated greenhouse where they receive bright but indirect sunlight. Keep an eye out for slugs and snails, which can devour young seedlings overnight.
4. Thin or transplant
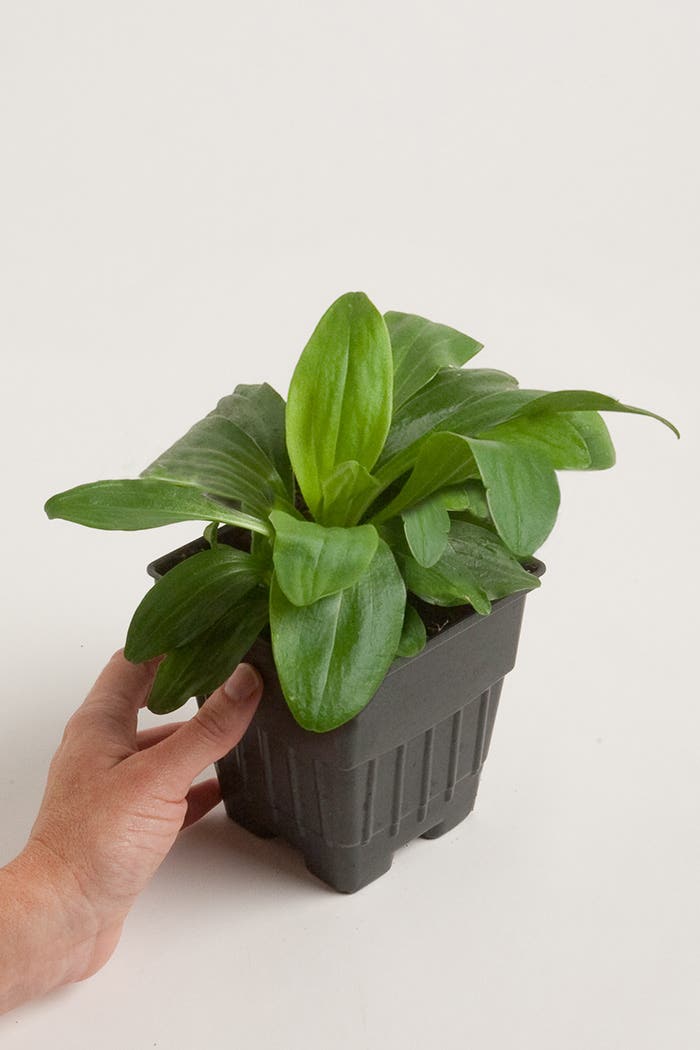
When the seedlings have grown their second set of true leaves, thin or transplant them to prevent over-crowding. If you don't need many plants, thin to one seedling per pot by cutting off the extras with small scissors. If you want a lot of plants, transplant them each into their own three-inch pot. Keep them out of direct sun for a few days, then move them to where they'll receive morning sun, then finally to a spot that meets their specific growing requirements. Begin feeding the seedlings once a week with liquid fertilizer diluted to half strength.
5. Plant the seedlings in the garden
By late summer or early fall, many of your seedlings will be large enough to set into the garden. Transplant them on a cool day, and water carefully for a few weeks afterward until they are well established. Some slower-growing species may not be large enough to move yet. Keep these in a cold frame over winter and set them out the following spring.
Learn more propagation and plant-care methods like this one in our illustrated Smart Gardening, Step-by-Step.