
How to Propagate Boxwoods from Cuttings
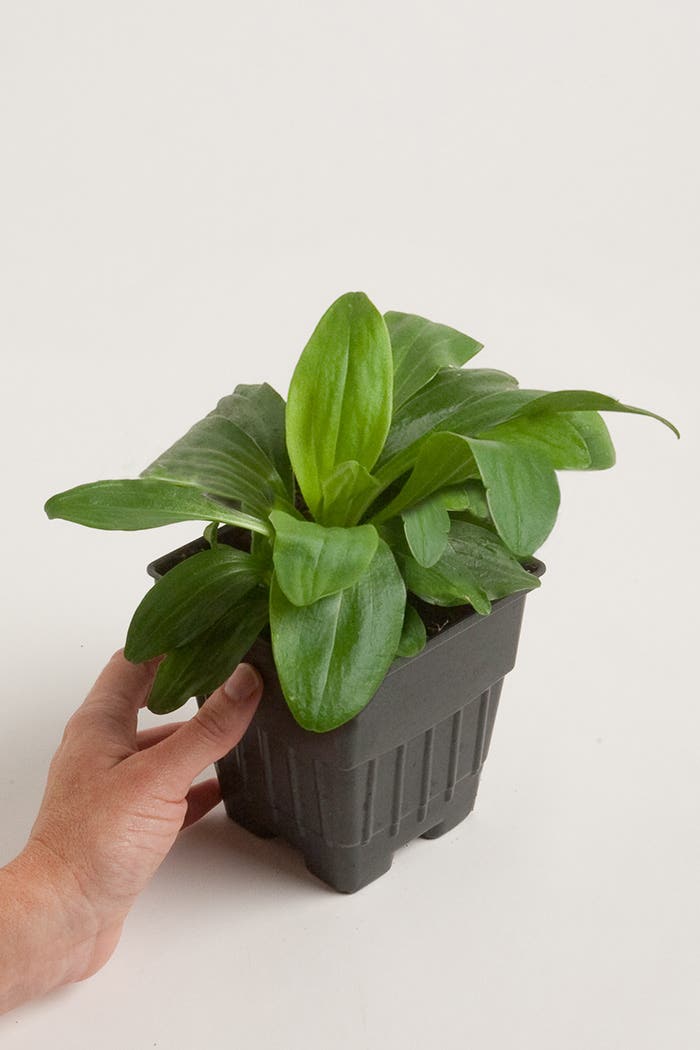
Whether planted as a standalone shrub or compressed together as a border, boxwoods—with lush, vivaciously green foliage—make the perfect addition to gardens. With their charming compact habit, it is no…
Whether planted as a standalone shrub or compressed together as a border, boxwoods—with lush, vivaciously green foliage—make the perfect addition to gardens. With their charming compact habit, it is no wonder that these lovely shrubs are one of the most popular plants for year-round interest and structure.

If you have existing boxwoods growing in your yard, instead of digging around in your wallet for some extra money to buy more, try to propagate more boxwood yourself. It's easy!
Here are a few tips for how to propagate boxwoods from cuttings:
• When to take boxwood cuttings: You want to begin to propagate boxwood around late summer to early fall—usually July to October, after the spring growth has started to harden.
• Prepare a pot: There are a variety of ways to prepare a pot for the cuttings. Some gardeners just use well-drained soil, while others use a 50-50 mix of part sand part perlite, compost or peat moss. Do what seems best for you, just make sure the pot you select has drainage holes and is at least 4 inches in diameter. Some gardeners do to prepare the pot is to saturate the mixture in water, then let it drain for about 10 minutes. It should be nicely, evenly moist.
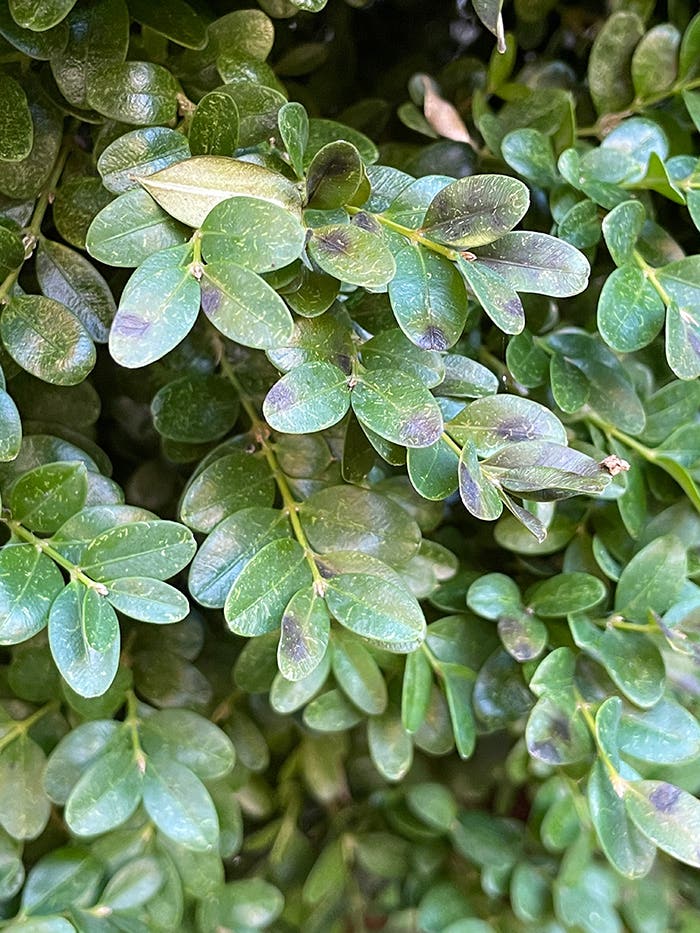
• Selecting the right cuttings: You want to select a cutting that is from a sturdy, healthy branch that has no signs of disease or damage. The cuttings should be 4 to 6 inches in length. You can remove the desired cutting by gently snapping it off using your thumb and forefinger, a sterile knife or a pair of gardening shears, whichever way you prefer. Strip the bottom half of the cutting of its leaves.
• Sticking the cuttings: Once you have selected your desired cuttings, you want to transport them into the prepared containers. You can dip a ½ inch of the bottom of the cutting into a rooting hormone if desired, however it is not absolutely necessary. Then set the cuttings into the pot mixture. You can use a stick or pencil to help keep the plant stable. Some gardeners suggest placing sticks or pencils around the cutting then placing a plastic covering on top to create a tiny, personal greenhouse. However, this isn’t vital in the cuttings success. If you go this route, be sure to open the covering a couple times a week to let fresh air in and check the soil.
• Location: Set your cuttings in an area that is warm with lots of access to indirect sunlight. Make sure to keep your cuttings constantly and consistently moist to help encourage vigorous and healthy growth. You can also mist the foliage using a spray bottle to keep it hydrated.
Within 4 weeks you can begin to check if your cuttings are rooting by gently tugging at the tiny plants. If they stay situated, roots are developing; if they easily move around, they haven’t yet rooted. Once the roots have began to develop, in two weeks you can transplant your cuttings into larger containers if you desire. Your cuttings should root within 3 months and should be ready to transplant outdoors the following spring. Until then, overwinter them in a cool, bright place and make sure they don't dry out.
Image source and rights
----------------------------------------------------
Explore through different methods of creating new plants in the Smart Gardening Techniques: Propagation 1.
Improve your garden without spending more money on new plants by using cuttings. Learn how in the Horticulture’s More Free Plants Online Workshop with Ken Druse- Episode 1: Softwood cuttings.
Cut through live material without worry by using a sturdy and comfortable Premier Bypass Pruners.
In the Smart Gardening Guide Step by Step: Propagating from Root Cuttings, you will receive a step-by-step guide to propagating perennials from root cuttings.
Keep your perennial beds looking their best with The Perennial Care Manual.


