Why and How to Start Annual Plants from Seed
Plus: Advice on placing annuals in the garden.
Many of us first experienced the magic of seeds in elementary school, when our teachers handed out cups of dirt and single beans and showed us how to sow them. We watered our seeds, set them on the sunny windowsill and waited. I still remember watching the little radicle break through the seed coat and root down, and the new shoot rise up, dragging its dual cotyledons with it, before opening two new leaves to the sun so photosynthesis could keep it growing.
What I didn’t learn about seeds then I’ve since gleaned in my life as a professional gardener. Lessons like some seeds need to go through winter (stratification) and others need to pass through an animal’s gut (scarification) before they will sprout. That we sprinkle small seeds on the surface of the soil (broadcasting), and poke fat seeds an inch or two deep (drilling).
Most importantly, I’ve learned to have faith in a seed. While the desire for instant gratification compels us to start our gardens with ready-made plants, we can find a deeper sense of appreciation when we start our plants from scratch—that is, from a seed, be it bought from a reliable source or, even better, collected from plants in our gardens or the wild. Henry David Thoreau knew as much when he wrote:
“Though I do not believe that a plant will spring up where no seed has been, I have great faith in a seed. Convince me that you have a seed there, and I am prepared to expect wonders.”
Reasons to Grow Annual Plants
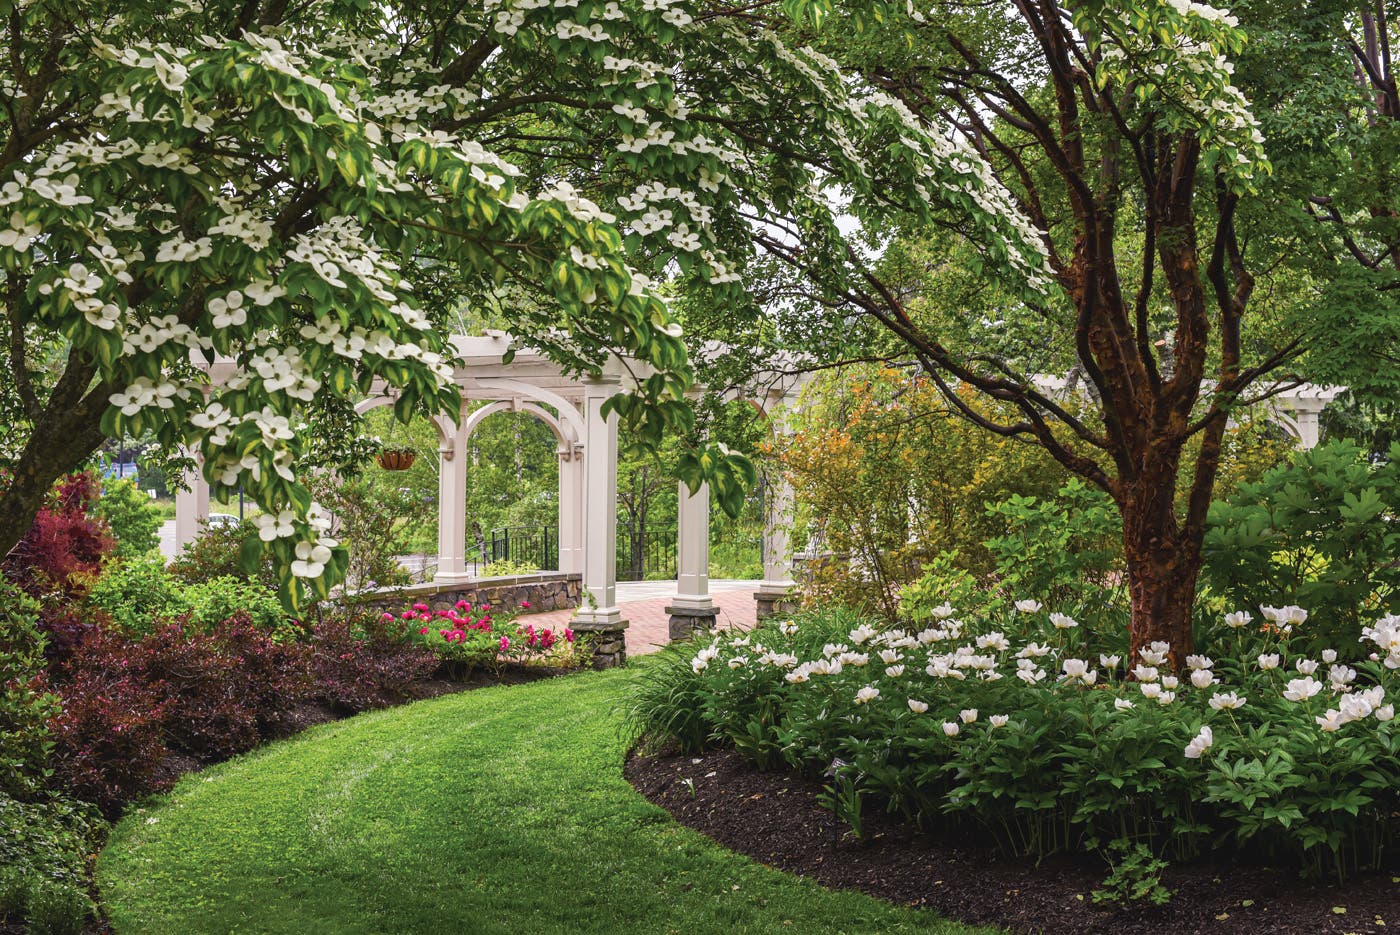
Annuals are versatile. They can be used anywhere in the garden. Intermix them with other foundational landscape plants for added color and interest, or create a dedicated annual garden, planted bedding style (with masses of one or more types) or wildflower style (different kinds mingled together). I always dedicate a spot for annuals in my garden designs just for the sheer fun of it, especially now that I do more direct sowing with seeds, which keeps things affordable.
I also use annuals to hold gaps in ornamental beds while young perennials mature and fill in over time. This helps limit weeds, which annuals can out-compete, and eliminates the need for a fresh layer of mulch in the spring.
Annuals can fill color gaps, too. Most annual flowers provide season-long interest as they continue to bloom until frost, which makes them wonderful complements to shrubs and perennials with shorter bloom periods.
I also use them as placeholders in beds I’ve prepared but I’m not ready to plant permanently. Similarly, annuals offer a great gardening option for renters who don’t want to spend a lot of money on perennials that will be left behind in a move.
Finally, using annual flowers allows me to change things up from year to year, trying different species or cultivars. One year it may be all about sunflowers, and the next a festival of marigolds.
Why Grow Annuals from Seed
Although annuals meet all of these needs, many people bemoan the extra expense of buying flats of flowers and the extra work it takes to plant them. Those worries disappear when you start your annuals from seed. Not only are seeds cheaper, but the range of plants available as seed dwarfs those offered as transplants even at the best garden center. Starting from seed opens a whole new world of gardening.
Direct Sow Seeds Outdoors
I prefer to direct sow annual seeds into garden beds, right where I want them. (That said, it’s handy to be able to recognize desired seedlings from weeds. Therefore, I start a few seeds in a pot early, so I can see what they’ll look like.) Although you may find success simply sprinkling some seed on any bare ground, it’s worth doing some basic preparation to create a hospitable seed bed:
Clear away excess mulch covering the soil, and, for best results, sprinkle a little peat moss or light soil where your seeds fall (not too much, just a dusting to cover them over). I simply run a rake lightly over the surface after I broadcast seeds, to help them settle in place. Use the backside of a hard rake or the thin tines of a flexible metal rake. Larger seeds, like sunflower or hyacinth bean, should be planted at least an inch deep. I drop mine onto the soil then poke them in with my finger and lightly rake the surface to completely cover them up.
Unlike in the vegetable garden, I usually don’t thin my annual flower seedlings. (In thinning, we remove weaker seedlings to leave more room for stronger specimens.) Instead, I let them compete, and the strongest survive.
Or Start Seeds Inside
When working with more temperamental seeds, like calendula or morning glory, or if you garden in a cold climate with a short growing season (USDA Zone 5 or lower), starting seeds indoors in trays gives you more control and a jump on spring.
I find seed trays are best, because they are easier to move around, they have a lower profile than most pots and they can hold many seedlings. However, you can use random plastic pots or even paper cups—any vessel that can hold a seed-starting mix and offer drainage will do. It is important to use a seed-starting mix of equal parts peat moss, perlite and vermiculite, because this will drain better than regular potting soil while also staying moist.
That’s the trick to starting seeds indoors: Keep the mix moist, but not wet. Also, provide sufficient sunlight, either in a south-facing window or under grow lights, and a little extra warmth by way of a heating mat to speed germination. Start by spritzing your sown seeds with water several times a day, or place some plastic wrap or a plastic dome over the tray to conserve moisture. Once the seedings sprout, remove any covering and keep spritzing, then water gently as they gain size.
When seedlings produce a second set of leaves, it’s time to change the routine. Seed-starting mixes have very low fertility, so at this stage you need to either add some organic fertilizer to the tray or prick out and pot on the strongest of the bunch.
Pricking out is easy, but it can get tedious if you have a lot of seedlings. It entails gently removing the best seedlings from the tray with a chopstick or pencil and transplanting each into its own small pot or cell-pack cell, filled with fresh, fertile potting mix. The seedlings will continue to grow in their new container until it is time to plant them outside.
After pricking out and potting on comes hardening off. Before you take the plants outside, you must acclimate them to life in the open. Do this by taking your trays and pots of seedlings outside on mild days and setting them in the shade and out of strong wind. If the forecast calls for continued mild weather, keep them outside. If frost threatens, bring them inside, then take them out again on the next nice day. While they’re outside, slowly shift them into a more open position, increasing the hours they sit in direct sun over a series of days. Within a few weeks you can plant them where you want them.
Annual Plants to Grow from Seed
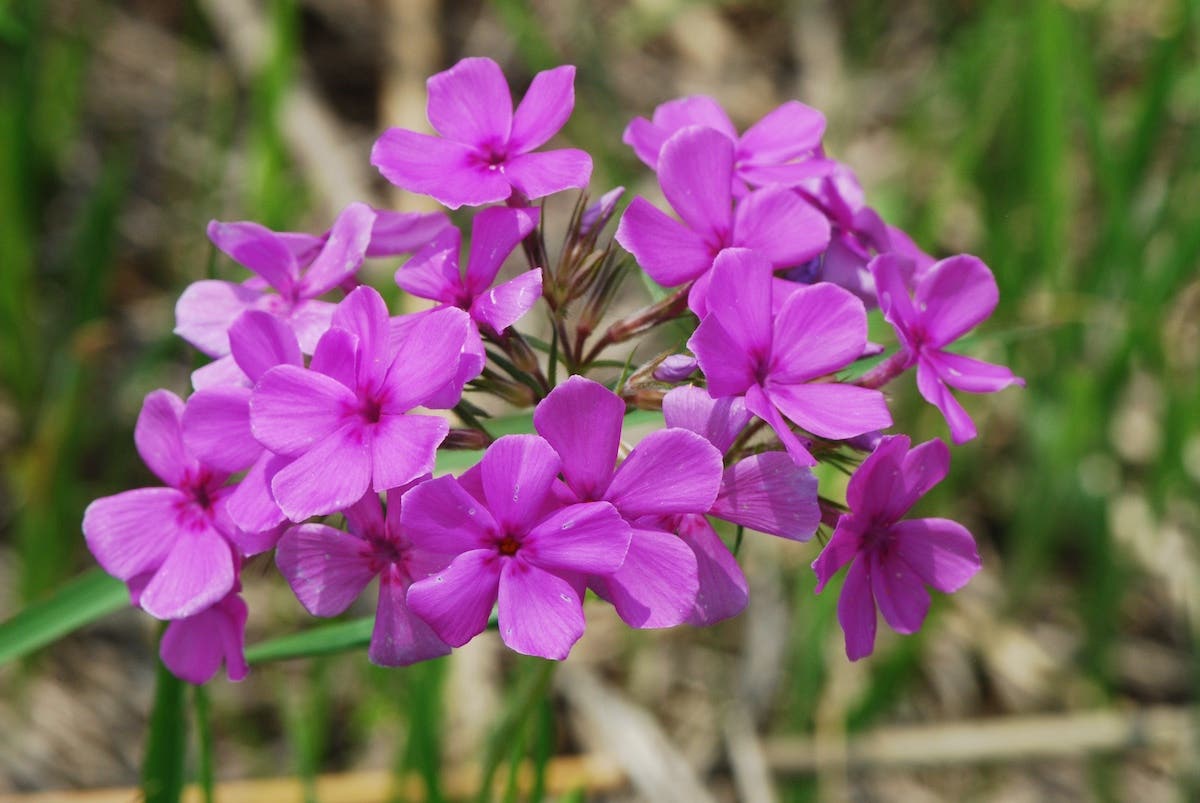
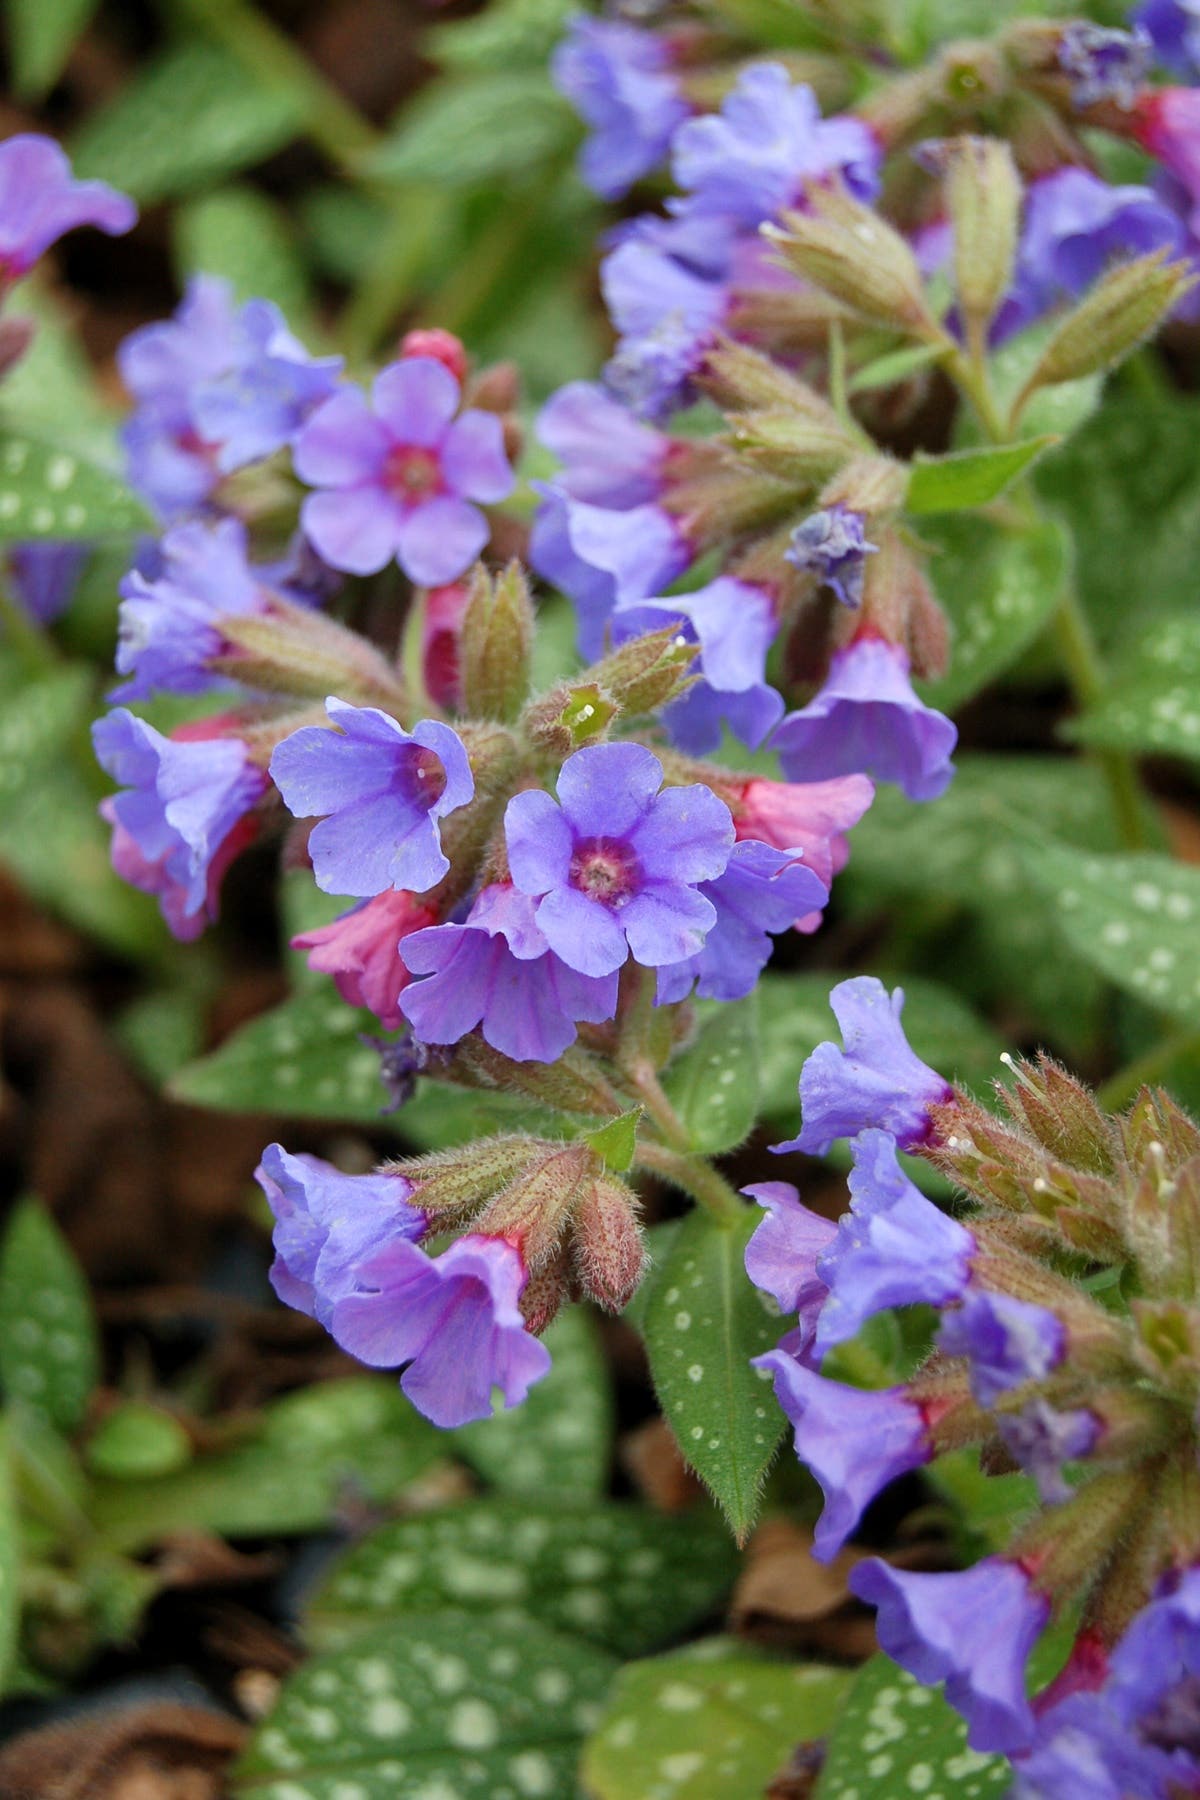
For me, annuals fall into two categories: native and traditional.
Many traditional annuals are actually perennials indigenous to the tropics. Our temperate winters simply kill them off. This may make them a bit fussy, but they are still quick and easy to grow from seed.
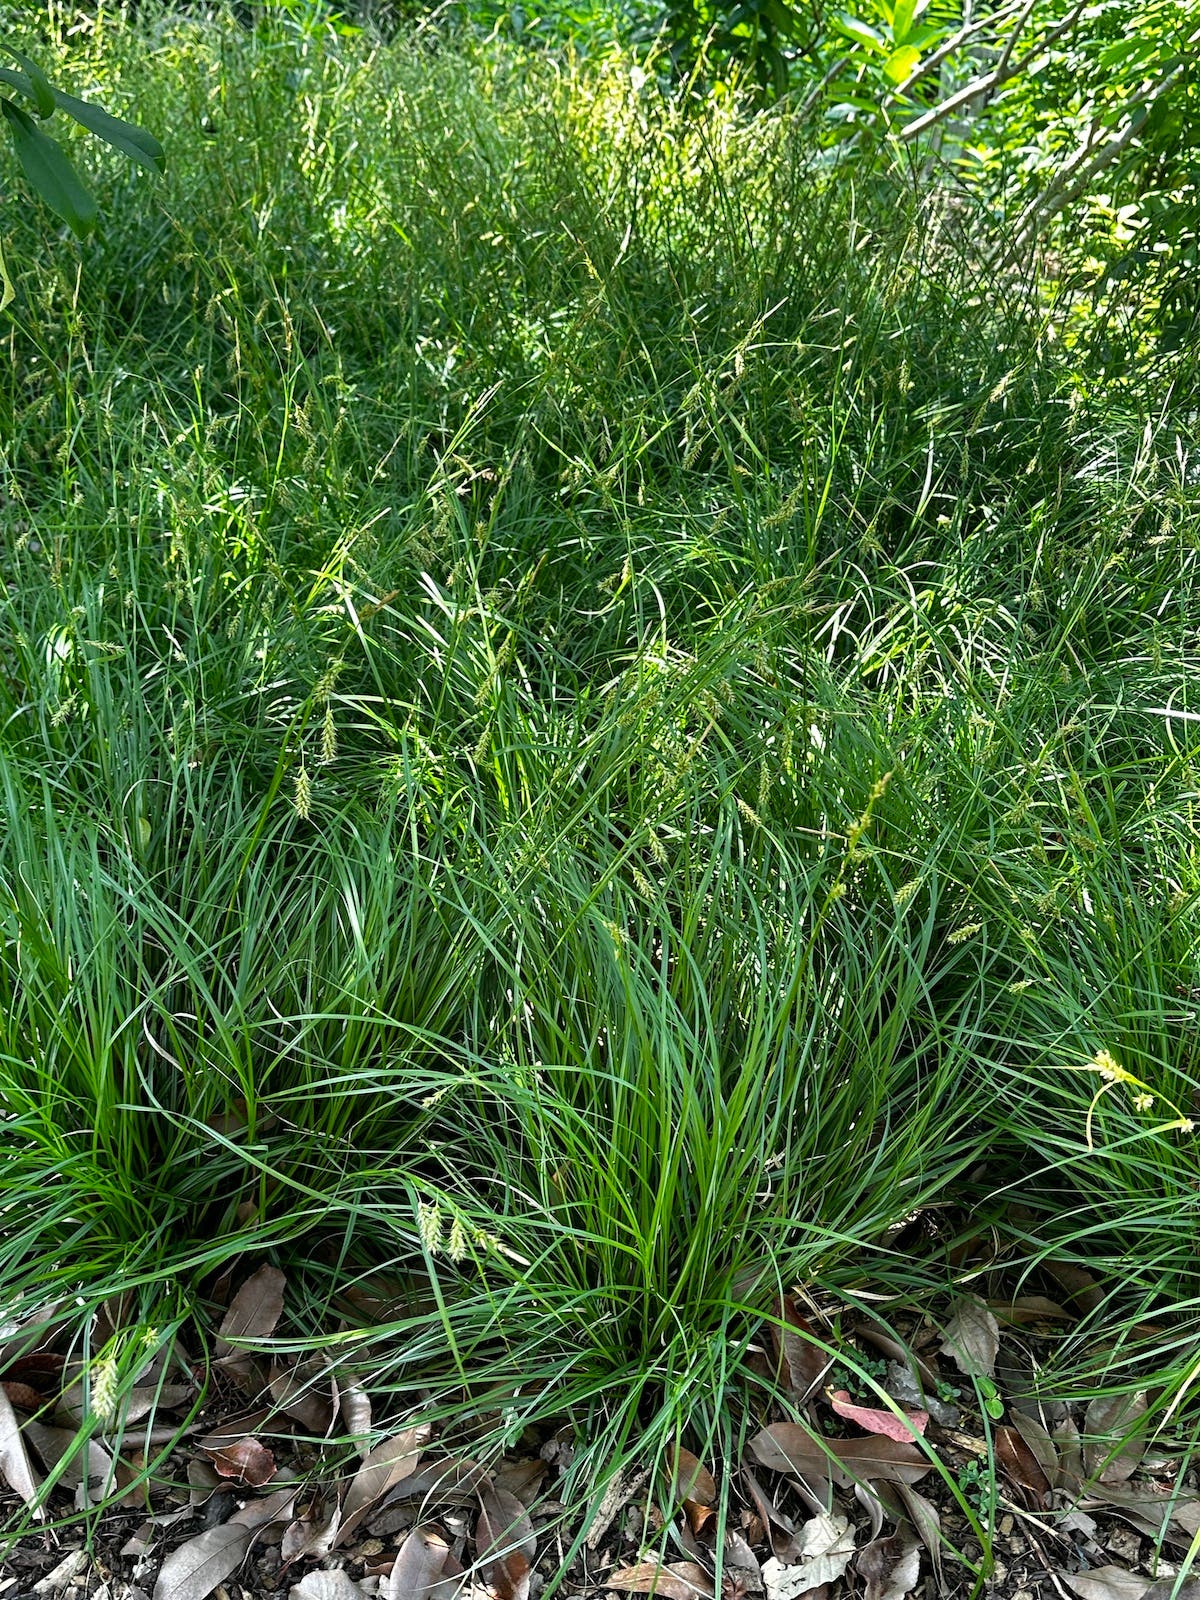
Native true annuals are more durable, and more likely to naturalize in our gardens. Plus they make excellent habitat for native insects.
My advice is to grow both types in your garden, perhaps placing traditional annuals in ornamental beds and natives in naturalistic sites.