Miniature Daffodils: Growing and Garden Design Tips
Why, where and how to plant mini daffs!
Daffodils (Narcissus) have so many selling points: They’re easy to grow and untroubled by rodents, beautiful to behold when they bloom from early to late spring, and oftentimes they're fragrant, too. Daffodils can also spread into impressively sized clumps and drifts, providing sweeps of cheerful spring color.
However, in some situations daffodils' size—both their height and potential width—poses a problem. Happily, there are miniature daffodils to fit tight spaces, complement compact companions and play other special roles.
What Is a Miniature Daffodil?
The American Daffodil Society (ADS) recognizes 13 divisions of daffodils, but “Miniature” is not one of them. They do recognize Miniature as a special class for cultivars with single flowers smaller than 1.97 inches across, or a multi-flowered head smaller than 2.83 inches across, with other parts in good proportion. Individual plants within this special class also fall into whichever of the 13 divisions they best match.
For example, Division 7: Jonquilla Daffodils comprises cultivars with one to five (or, rarely, eight) flowers per stem; perianth segments (the petals) that are spreading or reflexed; a cup-shaped, funnel-shaped or flared corona (the center) that’s usually wider than it is long; and fragrant blossoms, usually. ‘Baby Boomer’ matches that description, so it falls into Division 7. Because its individual flowers are smaller than two inches in diameter, it’s also in the special class Miniature. All told, 'Baby Boomer' can be called a miniature jonquilla daffodil.
These specifications are most important for daffodil enthusiasts, particularly those who enter their flowers into competitions or exhibitions at ADS shows. More casual collectors and gardeners might consider any relatively small daffodil "miniature," and catalogs tend to be a little loose with the definition as well. In the garden, perhaps its best to simply say miniature daffodils are obviously small, undeniably cute cultivars well suited to certain design niches.
Where to Plant Miniature Daffodils
Remember that all the parts of a miniature daffodil are proportionately small—not just the flower. Compared to standard daffodils, these plants are shorter in stem and leaf height, with a slimmer silhouette. Therefore they fit nicely into tight spaces and amid low-growing companions, and their foliage is a bit easier to hide (or at least overlook) while it declines after bloom.
The short stature of these bulbs makes them a match for meadows that are based on warm-season grasses. If the meadow is left standing over the winter, it should be cut down before the daffodils emerge—once their foliage comes up, it must remain in place until it yellows completely.
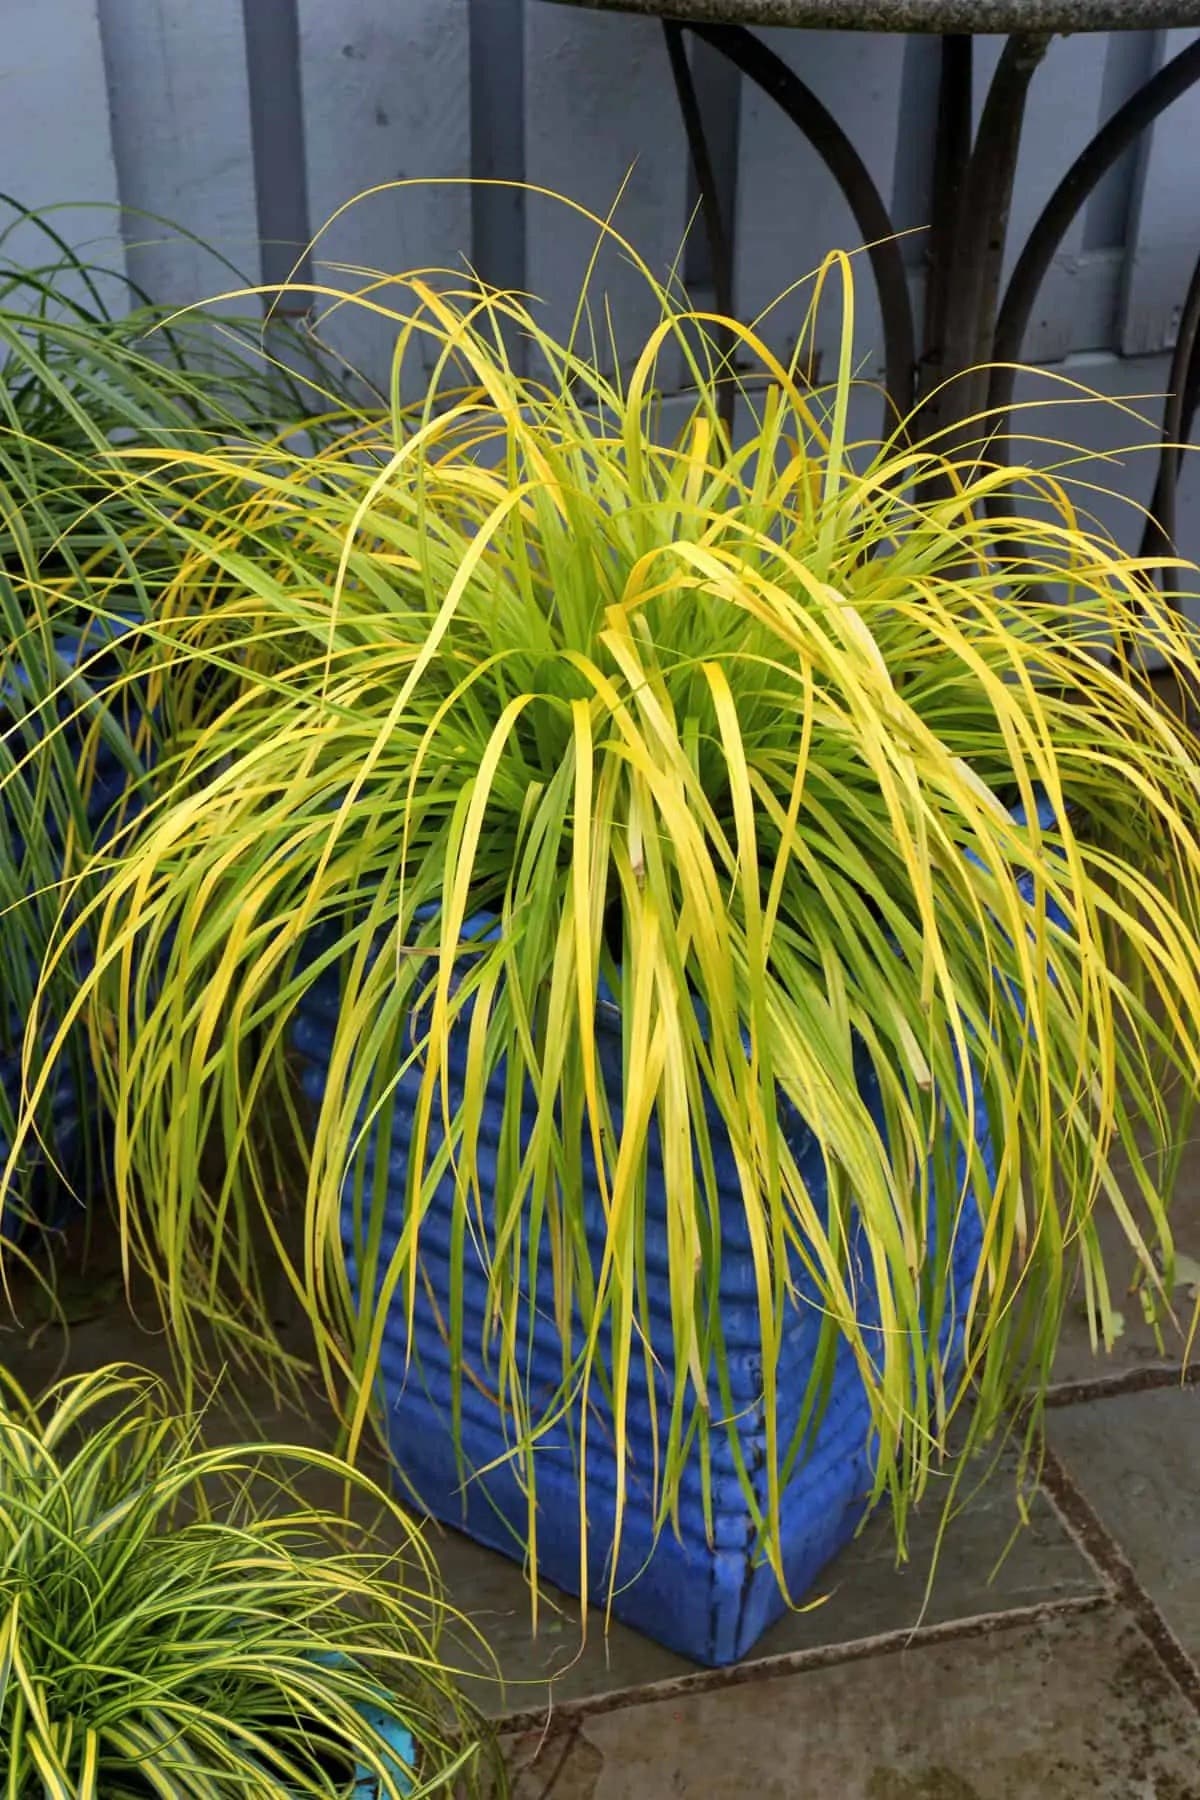
Mini daffodils fit well among “no mow” lawns based on sedges (Carex), where they provide seasonal color along with species tulips, crocus, grape hyacinth (Muscari) and other small bulbs. For the best effect, plant handfuls of bulbs together in repeated clumps, rather than dotting singles here and there. (More about planting bulbs in a lawn.)
Miniature daffodils are at home in garden beds and borders, too. They can be tucked in among low ground covers, so that they grow through their companion and bloom just above it. Cultivars can be found that bloom in early, middle or late spring, and chosen to bloom in concert with shallow-rooted, spring-blooming spreaders like phlox (Phlox subulata or P. stolonifera), perennial candytuft (Iberis sempervirens) or creeping speedwell (Veronica ‘Waterperry Blue’).
At the edge of a path or bed, miniature daffodils might be planted with later-blooming compact perennials like dwarf catmint (Nepeta faassenii ‘Purrsian Blue’). They also play well wherever you might place other small bulbs like scilla, muscari and chionodoxa. (Mini daffs also pair well with these bulbs, whose blue flowers complement yellow daffodil cultivars.), They fit well in pockets that usually host low-growing spring annuals like pansies or dwarf snapdragons. Mini daffodils can replace these annuals entirely or supplement them.
Finally, these special daffodils earn a spot in specialty gardens—namely, the rock garden and the container garden. Like species tulips and crocus, miniature daffodils are bulbs that look in proportion to the low, tight habits and spectacular early bloom of many rock-garden and alpine plants. They relish the excellent drainage and sunny aspect of a rock garden, and its design details, such as slopes and stones, can make them more noticeable.
Similarly, tall pots elevate these wee delights to heights where they can be better appreciated; to achieve this with smaller pots, which might look in better scale to the foliage, place them on steps or atop a wall or table or other stage.
Planting and Growing Miniature Daffodils
Miniature daffodils require the same care as standard daffodils. Plant them in full sun, where the foliage will receive at least six hours of sun as it declines after bloom. The soil must have good drainage. The American Daffodil Society recommends placing the bulbs so that the top sits at a depth at least two times the height of the bulb—so the top of a one-inch-tall bulb would lie two inches below the soil surface. Water after planting if the soil is dry.
When planting mini daffodils in pots, make sure the container provides at least two inches of soil beneath the bottom of the bulb once it is planted to its recommended depth. Use a freely draining potting mix and be sure that the pot has drainage holes. Over the winter, keep the pot where the soil will be cold (between 35 and 45 degrees F) but won't freeze, and where it won’t be subject to heavy rains. In USDA Zones 7 and 8, an outdoor spot might work, depending on average temperature; in colder regions, containers will likely need to be stored in a cold garage or cellar, inside a cold frame or sunk into the garden soil in fall. In places warmer than Zone 8, the best bet is to chill the bulbs in a refrigerator for eight or more weeks and then plant them into containers standing in the garden.
In spring, water while the bulbs are blooming if rain is scarce. Avoid watering as they die down. Let leaves turn yellow before removing them. They are restoring energy to the bulb so that it can bloom the next spring.
If it becomes necessary to divide or move the bulbs, the best time is once the leaves are mostly yellow to brown. Leave them attached as much as you can, though inevitably some will fall away as you work. Plant at the same depth, water them in, then leave them be. Bulbs that were grown in pots should be removed and transplanted into the ground or dried and stored in a cool, dark, airy place until repotting in fall.
Image credits: 'Baby Boomer' and 'Sun Disc' courtesy of Colorblends.com; 'Tete-a-tete' by Glen Bowman/CC BY 2.0; 'Minnow' by Bonita la Banane/CC BY 2.0; 'W.P. Milner' by peganum/CC BY-SA 2.0; Narcissus bulbicodium by Sonke Haas/ CC BY-SA 2.0; 'Jetfire' by Dean Morley/CC BY-SA 2.0


