Patience Is Paying Off!
Lessons Learned From the Secret Garden Last year (has it been that long?) I introduced you to my new landless gardening adventure. I adopted part of a local park that…
Lessons Learned From the Secret Garden
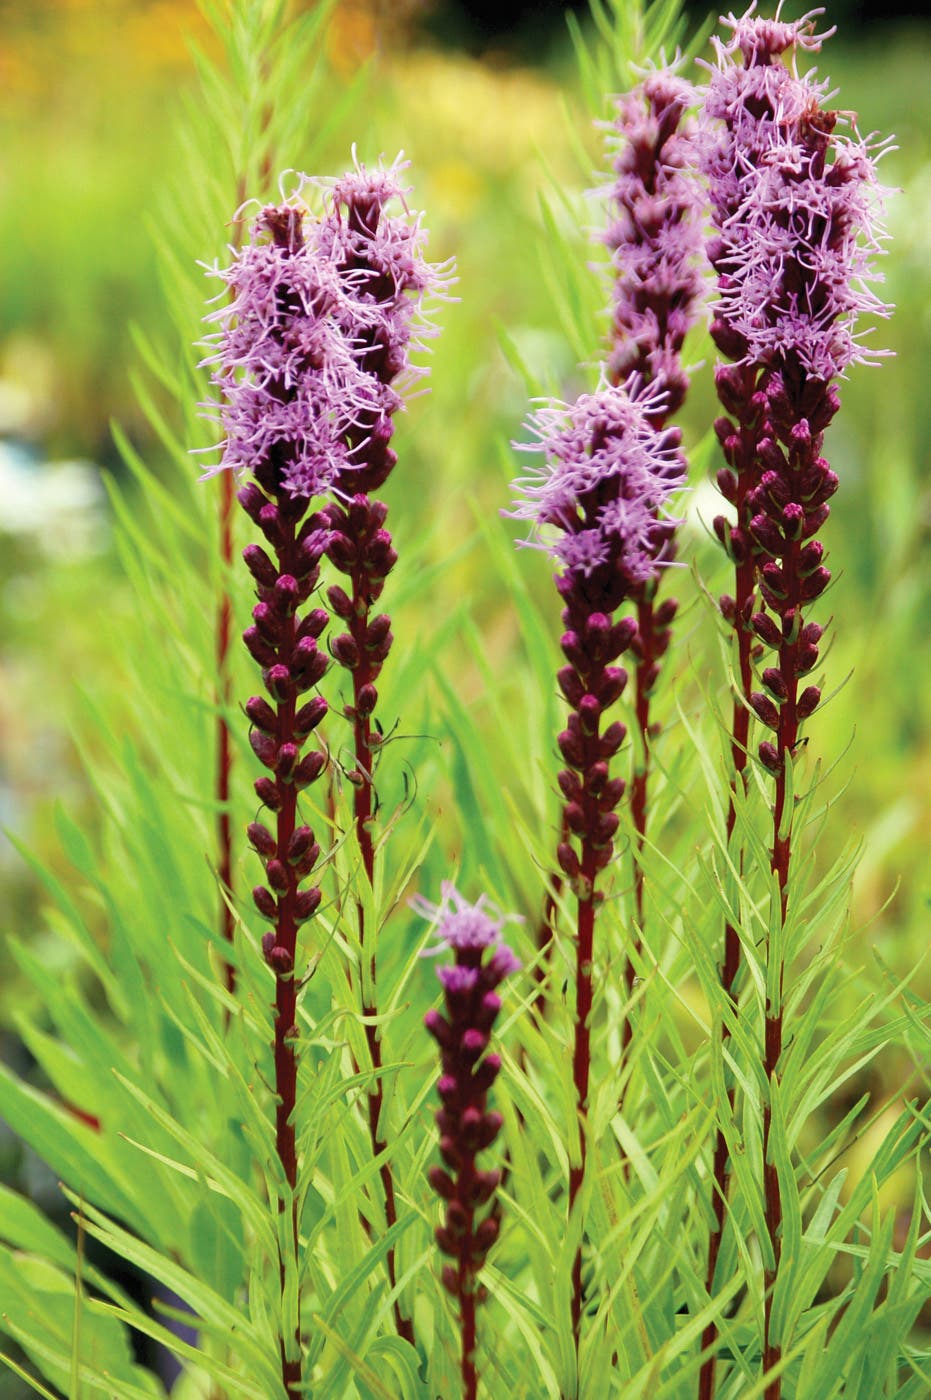
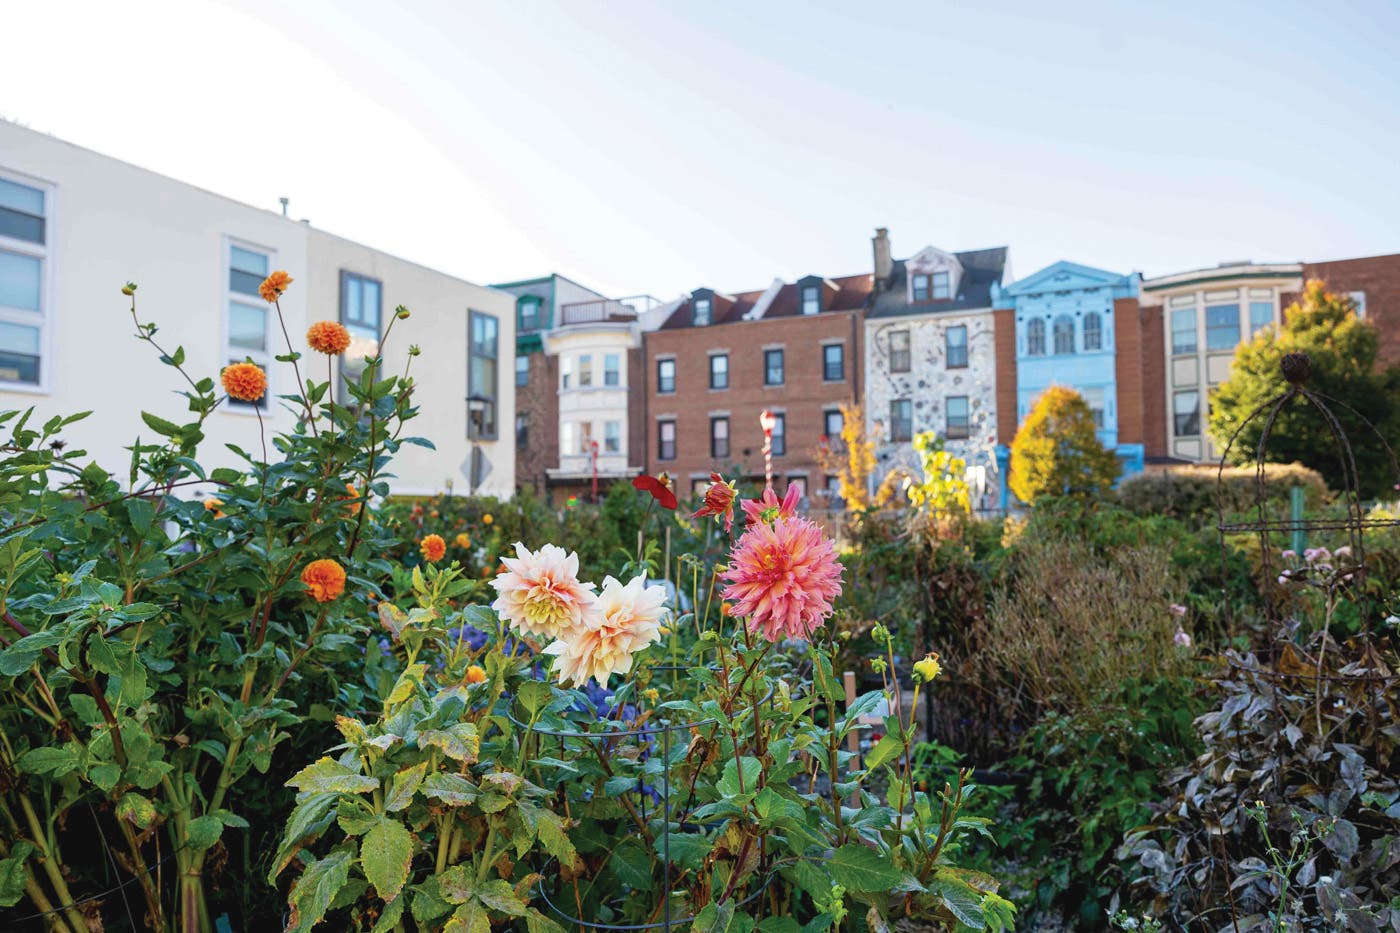
Last year (has it been that long?) I introduced you to my new landless gardening adventure. I adopted part of a local park that is a few streets from my building, tucked back in a neighborhood within a nature preserve. It is simply idyllic. Last year I started the rather unglamorous task of removing years of overgrown ivy, fallen branches and twigs, yards of weeds and unwanted, invasive plants. I moved some plants around to more appropriate spots in the garden. The ligularia were moved to a shadier, moist spot in the back after the soil was amended, and they are thriving. Hostas were divided and replanted and a few plants from my garden at the old park were brought to this new location. Over all, it was just fine—amending soil and clearing out a garden for half a summer is not exactly exciting.
But now—oh my, it’s fun to play in this garden now. I continue to add more pine fines to the heavy clay soil and now it turns with ease and remains moist. And now it doesn’t smell like a swamp and the plants are happy.
Looking back over the past year, this garden adventure highlights two key lessons in designing and planting a new space:
- Take Time to Learn Your New Garden Space
If you are gardening in a new yard or even a new space in your landscape, it behooves you to take some time to study the garden—its sun exposure, moisture retention and soil condition. It’s tempting to jump in and start planting, but that is how costly mistakes are made.
This is a rather large space with distinct zones within. There is a spot that is dry, sunny and sandy, while just a few yards away the garden catches draining rain from the upper garden to the point that planting holes were filling with water.
This is a great example of why we have to study our garden and not rely on general USDA Hardiness Zones to make all of our plant selections. I have very damp to dry soil and part sun to full shade, all within this walled garden.
- Break It Down
This new garden is large. I wish I had the time and resources to plant the entire courtyard in one year, but I do not. So, I have divided the garden into zones. Rather than scatter new plants here and there, I am completing smaller subsections, one at a time, for greater impact. This allows me to focus on the most important areas of the garden:
- Bench areas are planted first. It is where visitors will gather and spend the most time.
- The view from the benches. I am working on addressing the immediate view from each bench. (I have four.)
- The entrance. If the entrance is rough and dull, why enter a garden? The entire entrance is not lush yet, but it is tidy and well-kept looking.
- Back wall. My next area of focus is the back wall. If I can make that pop, perhaps by adding plants with white flowers and/or foliage to make the deep shade look inviting, more people will be enticed to venture into the courtyard.
Take the same approach to your new garden plan. Study the garden, break it down into manageable sections and take the time to prepare the soil. The soil is the lifeblood, the foundation of your garden. The more familiar you are with it, its composition, water retention and organic make-up the better able you are to pick plants that are well suited for the growing condition (or, if you like, you can amend the soil to meet additional plant requirements).